So you built your website and you think its going well but how do you know for sure? The answer is you use software like Google Analytics. Google Analytics is the leading online software to track key analytical information on your website.
But how do you install Google Analytics on WordPress you may ask?
In this guide we will be covering the three most common ways on how to install Google Analytics on your WordPress website step by step. To install Google Analytics, we will be:
- Utilizing two separate yet popular plugins.
- Manual installing the script using code in your theme.
But first, lets take a quick look at what Google Analytics is and why you absolutely must use it.
![]()
What is Google Analytics and why you must use it
Google Analytics is a free web analytics service made by Google. It is the most widely used web analytics service on the Internet with millions of websites using its services.
Google Analytics tracks and reports on a number of website traffic related information. The information that it can track includes:
- Insights: Learn information about the users that visit your site. Information like age, gender, country, internet browser, internet provider, time of day they accessed, what pages they accessed and for how long can all be tracked.
- Goals: Set goals in Google Analytics to track specific conversions on your website.
- AdWords: Google Analytics integrates with Google Ads to provide a wealth of information about how your paid ads are tracking to your website.
- Site Search: Learn what users are searching for in your websites search box.
- E-Commerce Tracking: Discover information about your online sales. You can see where your most profitable customers come from and if customers are abandoning the purchase process before they checkout.
- Compare data: Analytics is stored information that you can retrieve and view how your sites data is tracking across two date ranges.
- Traffic sources: Learn what pages are getting the most traffic and who is linking to your content.
There are a lot more features than the ones mentioned above but these features are a start. When utilized correctly, it will give you both quantitative and qualitative data to make informed decisions – not just assumptions about what you should be doing on your website.
When you start a website, you number one goal is to attract users to it. But how do you know if you are attracting users and whether your site is actually working?
Knowing exactly what your users are doing on your website is vital to your websites success. The best way to know is by using Google Analytics to make informed decisions.
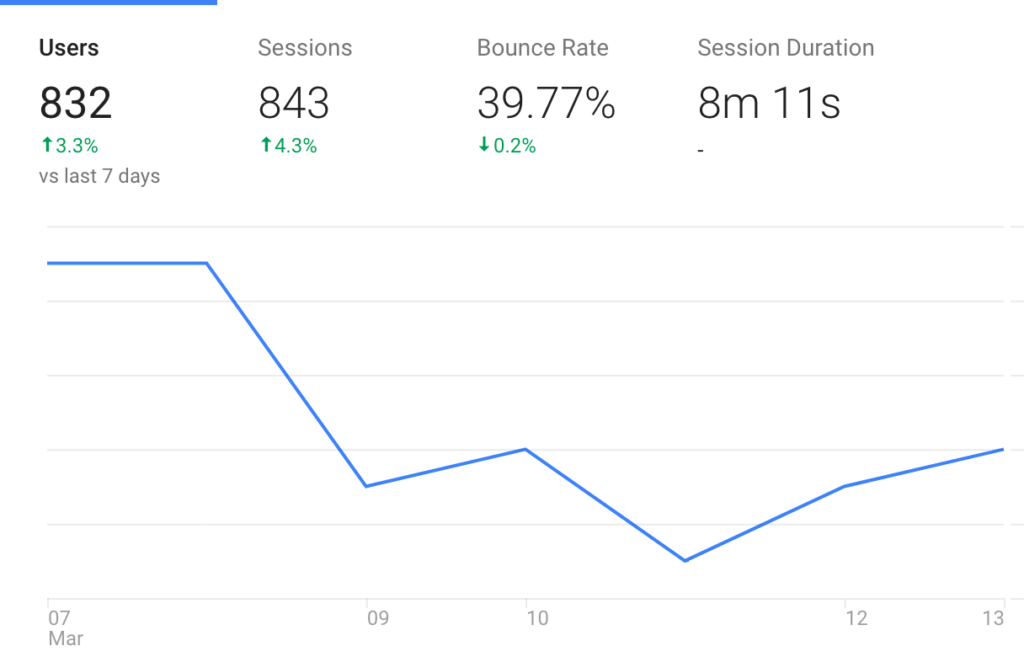
The data that you collect from Google Analytics will help you improve your site.
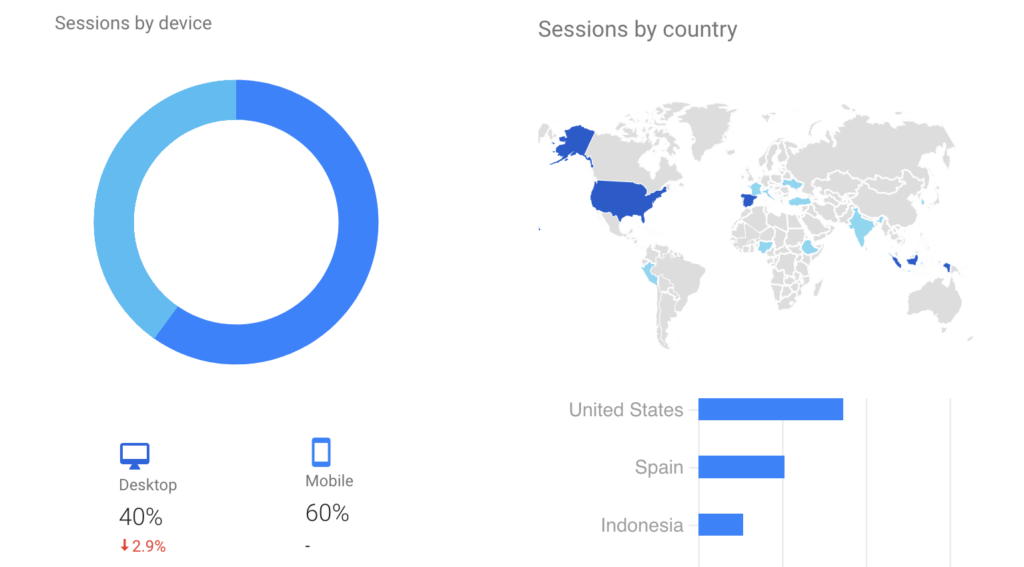
For example, if the analytics indicates that 60% of your users are visiting your site on mobile, then you have to make sure that your website is thoroughly optimized for mobile devices. If your website visitors are coming from a country that speaks a language other than English and they match your target market then you could consider translating to their language.
All of this information simply helps make your website better for your visitors and helps to improve conversions with your customers. Simply put, eliminate the guess work on growing your website. Make data driven-decisions to focus on the areas that need the most improvement.
Google Analytics will give you all of this information.
How to Install Google Analytics in WordPress
Knowing that Google Analytics can help you is all well and good but you still need to set it up and add it to your site for it to work.
In this section of the guide we will be creating a Google Analytics account and getting it ready for the install methods below.
-
Create a Google Analytics Account
You first need to create a Google Analytics account. Go to Google Analytics and create an account or log in if you already have a Google Analytics account setup.
-
Create New Tracking account
On this page, you will create your own Google Analytics tracking account. This is the profile you will setup to view all the data collected on your website.First step is to make sure the website tab is selected.
Enter your websites Account Name and Website Name in the fields. These can be the same value or different.
Choose whether your website URL is using HTTPS or HTTP and enter your website URL in the field.
Select your websites primary industry and what timezone your reports should be in.
There are some optional checkbox fields you can either grant access or not.
Click Get Tracking ID button once you have filled out the form.
-
Accept Terms
A Google Analytics terms of service agreement modal box pops up. You must accept the terms to use Google Analytics. Click the I Accept button to proceed. -
Copy Tracking Code
You will be taken to the tracking code section of your profile. This is the code that you must add to every page on your website to enable tracking on that page. We will be utilizing the tracking code in the methods below.Make a note of your tracking script code if you are going to be using method two or method three of this tutorial. The tracking code is automatically gotten for you if you are using method one.
That is all that is required to create a Google Analytics account profile. The next steps will be to integrate it into your WordPress website.
If you need to return to your Google Analytics page, you can access it by going to https://analytics.google.com. There are a number of options you can also configure in Google Analytics but the most important thing to do now is to add it to your website.
How to install Google Analytics in WordPress
There are plenty of ways to install Google Analytics on your WordPress website. Luckily you you do not need to insert the tracking code on every single page of your site. Because WordPress is dynamic, you can add it in one place and it will track all of the pages you set it to track.
The below methods cover the Monster Insights Google Analytics plugin, the Insert headers and footers plugin and finally we will be manually adding it to your site via code.
Monster Insights is the recommended method as it is both the simplest and easiest way to install and configure Google Analytics on your site.
The methods are in order of difficulty. Either way you choose, you will end up with the same result of installing Google Analytics on your WordPress website.

Method One: Monster Insights plugin
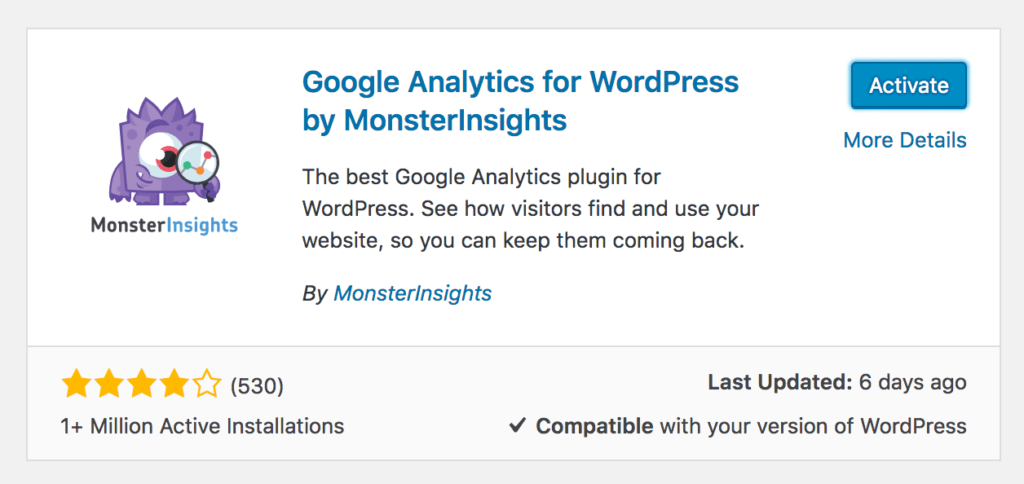
The Google Analytics for WordPress by MonsterInsights plugin is the most popular Google Analytics plugin for WordPress. It is regularly updated with the latest features and has a number of awesome features.
It has a quick setup, integrates Google Analytics dashboards into your site and a number of settings to exactly configure Analytics without touching any code.
There is also an optional premium version with enhanced features for eCommerce and reports. In this tutorial, we will be using the free version.
To begin, you need to install the plugin. Log into your WordPress website and click the Plugins > Add New button. Search for “Google Analytics for WordPress by MonsterInsights” and install and activate the plugin.
Go to our WordPress plugin install guide to learn more on how to install a WordPress plugin on your site.
Once the plugin is installed, the plugin will add a new Insights menu item to the admin sidebar. Either click the Insights > Settings menu or click the settings link under the Google Analytics for WordPress by MonsterInsights plugin listed on the plugins page to go to the plugins settings page.
Configuring MonsterInsights
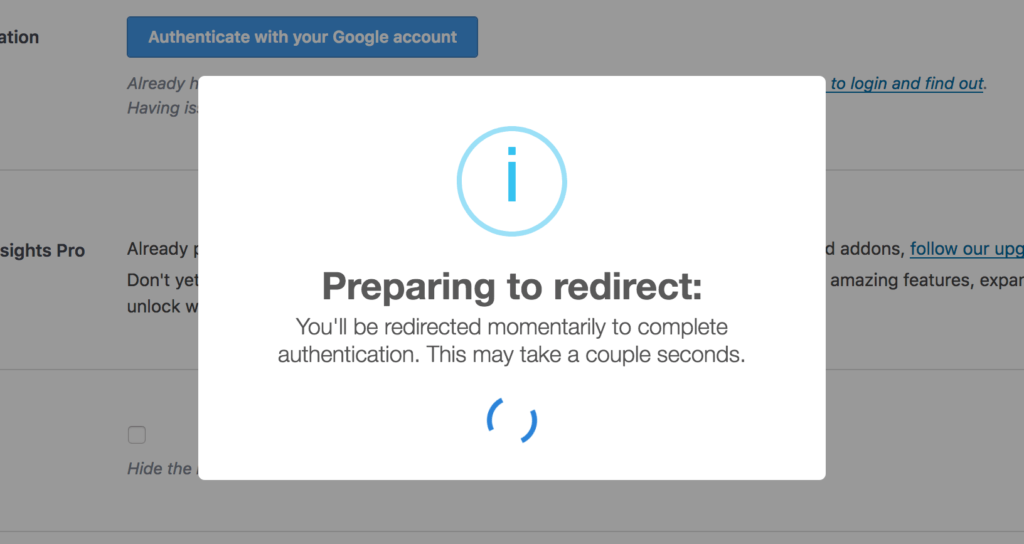
The first section you will see is a button to authenticate your Google Analytics profile with your WordPress website. Click the Authenticate with your Google Account button to provide the authentication. A new window will open to log into Google where you can select your Analytics tracking profile.
If you would prefer, you can also enter your tracking code manually by clicking the “Click here to authenticate manually.” link.
Choose to show or hide Analytics reports on your dashboard with the Disable Reports checkbox.
It is recommended to select the yes radio button to enable Automatic Updates. This is to ensure you get the latest features, bug-fixes, and security updates as they are released.
When you are done, click the Save changes button to activate Google Analytics on your site.
Google Analytics will begin to track the visitors to your site. Usually the data shown in Google Analytics will be delayed by 24 hours. Also, if your site is just brand new then chances are you will not see any traffic on your site until you begin to grow and attract people to your site.
If you enabled reports in the settings, then you can view your Google Analytics data from the back-end of your website. Go to the Insights > Reports page to view the data.
In the Tracking tab of Insights > Settings you can configure the finer details of Google Analytics settings to your preferences.

Method Two: Insert Headers and Footers plugin
In this second method we will be using the Insert Headers and Footers plugin to install Google Analytics on your WordPress website.
This method is still using a plugin but is a little more limited than the first method with Monster Insights. This is because this plugin only lets you paste the code into your site and doesn’t have a number of Google Analytics specific configurations or reporting dashboards like MonsterInsights does.
Nevertheless, this plugin does what it needs to do. It will install the Google Analytics tracking script onto your WordPress site.
Lets begin!
Go to the Plugins > Add New sidebar menu page and search for the “Insert Headers and Footers” plugin. Install and activate the plugin. Go to our how to install a WordPress plugin tutorial if you need more information or help on installing the plugin.
After you have installed the plugin, go to Settings > Insert Headers and Footers to Add your Google Analytics script.
The plugin settings page is very simple. It has two text boxes that let you insert any type of scripts to your site in either the start or the end of your websites markup (header or footer).
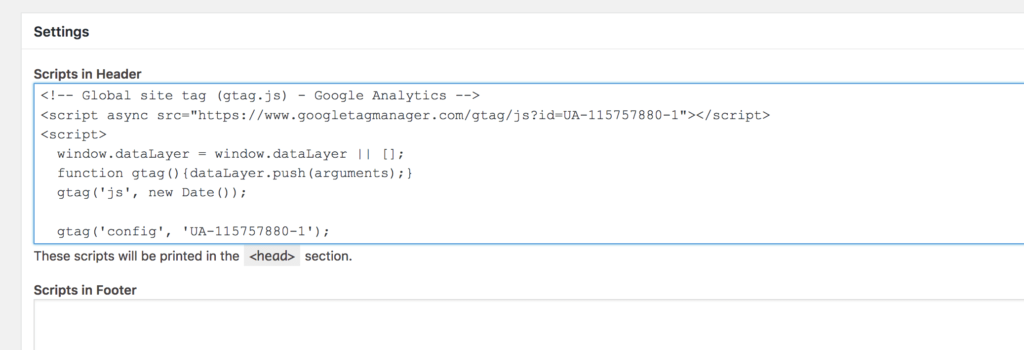
Paste the Analytics tracking code that you copied in the previous section above. Make sure you paste the entire code not just the tracking ID. Your code should look like this:
[highlight type=”tip”]If you need to find your own Google Analytics tracking then you can follow the Finding your Google Analytics tracking code steps below.[/highlight]
Google Analytics recommends that the code be placed in the header of your site. So paste the tracking code into the “Scripts in Header” box.
Click the Save button to activate the Google Analytics tracking code in your site.
Method Three: Manually installing with code
If you would like to have complete control over the Google Analytics script that gets loaded into your site then you can do so by manually installing the Google Analytics tracking code in your WordPress themes functions.php file.
This method requires you editing your themes files so is not a method that we recommend for beginners. You would be better suited with the other two options above.
This method is very similar to the second method of inserting headers and footers but instead of using a plugin, we will be writing our own code. The code that is used in the Insert headers and Footers plugin is the same action that we will be covering to inserting the code manually.
The code goes in your functions.php file but make sure you install this code in a child theme because if you install it in a parent theme and update your theme then the tracking code will disappear. If you do not have a child theme then we recommend choosing one of the other install methods.
Open up your child themes functions.php file and paste the following PHP code:
The above code needs to be updated with the Google Analytics script that you copied in the previous section. Make sure you paste the entire code not just the tracking ID. Your code should look like this:
[highlight type=”tip”]If you need to find your own Google Analytics tracking then you can follow the Finding your Google Analytics tracking code below.[/highlight]
Save the changes you made to the functions.php file and make sure it is uploaded back onto your hosting server.
Often you will want to limit the tracking so that Google Analytics does not track you or anyone that may be administering your website. You can do this in Google Analytics or you can simply not display the tracking code for certain types of logged in users on your site.
By modifying the above code, we can prevent the tracking code from tracking you so that when you do visit the Analytics dashboard, it is not all just data of your visits.
[highlight type=”note”]The above code is not recommended if you want to track other administrator users on your site as it will remove tracking for all logged in Admins. It does however provide an example of how you can limit the tracking.[/highlight]
Once the file has been saved and uploaded to your server with your Google Analytics script inserted, you will be able to track your websites visitors with Google Analytics.
Finding your Google Analytics tracking code
If you did not save the code or need to find it again, you can do so by going to your Google Analytics js tracking settings page.
-
Go to Google Analytics and open your profiles admin settings by clicking on the Admin link in the sidebar menu.
-
Navigate to your property section and find the Tracking Info link. Click it to drop down the options. Select the tracking code link to take you to the tracking ID page.

-
Your Global Site Tag (gtag.js) tracking code should be listed on this page. Copy this code and paste it into either method one or method two above.

Once you have copied the tracking code and pasted it into either of the methods above then your Google Analytics code will begin to track users on your website.
The tracking code can always be accessed on the tracking page of your Google Analytics account but you likely wont need to come back to the page again provided your tracking code doesn’t need re-configuring in the future.
Conclusion
This guide demonstrates three different ways to install Google Analytics on your WordPress website. The different methods can be used depending on your preference and requirements.
From here you should go into Google Analytics and configure it to your preferences if you have not done so already.
Your site should now be collecting user data and you can now make informed decisions if you need to make changes to your site.
Google Analytics is essential for any website growing online. Now that you have set up Google Analytics, your next step is to make sure your SEO is in check. Be sure to follow our guide on how to install Yoast SEO on your website.
Finally, lets start the conversation. Join us either in the comments section below or like us on Facebook and Subscribe to our YouTube channel to continue learning how to get the most out of your WordPress website.